This comprehensive guide on model train wiring for dummies covers everything you need to know to get started with your model train layout. From understanding the basic principles of wiring to common issues and advanced techniques like adding lighting and sound effects, we’ve got you covered.
Understanding Model Train Wiring
As a model train enthusiast, understanding the intricacies of wiring is crucial to building a successful layout. Basic principles of wiring, the types of wires used, and the tools required are all essential components of creating a functional and safe model train layout.
Basic Principles of Wiring
At its core, wiring involves connecting a power source to a set of tracks and accessories. The power source can be either AC or DC, and the wiring must be able to handle the current and voltage requirements of the layout. Understanding the basics of wiring includes knowing the difference between positive and negative, as well as how to connect wires to a power source and track.
Types of Wires Used in Model Trains
There are several types of wires used in model train layouts, each with its own specific purpose. The most common types of wires include:
- Bus wires – used to carry power to various areas of the layout
- Track wires – used to connect the track to the power source
- Accessory wires – used to power accessories such as lights and switches
- Jumper wires – used to connect sections of track that are not electrically connected
- Power wires – used to connect the power source to the bus wires
It’s important to use wires that are appropriate for the current and voltage requirements of the layout. This can vary depending on the size of the layout and the number of accessories being used.

Tools Required for Wiring
Having the right tools is crucial to successful wiring. Some of the essential tools required include:
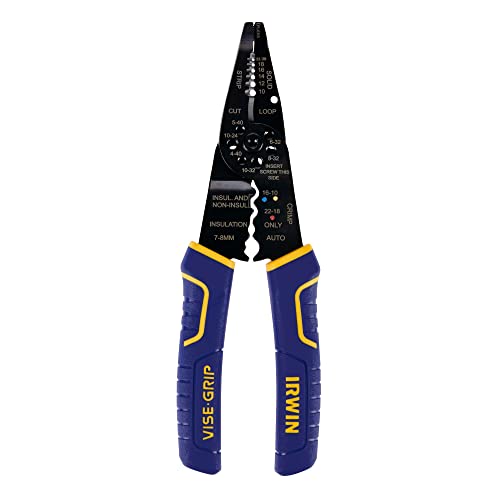
- Wire strippers – used to remove the insulation from the wire
- Wire cutters – used to cut wires to the required length
- Soldering iron – used to join wires together
- Heat shrink tubing – used to insulate and protect the wires
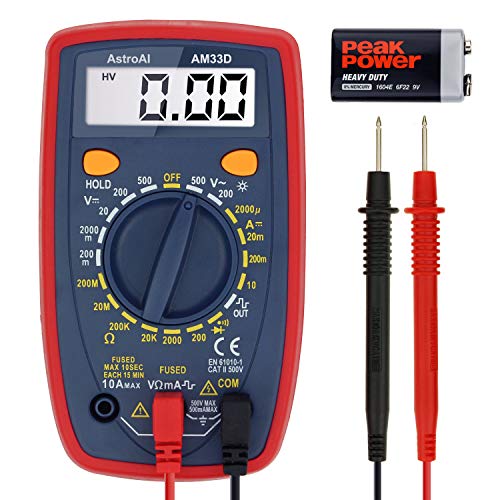
- Multimeter – used to test the electrical properties of the wiring
Using the right tools not only makes wiring easier but also ensures that the connections are secure and the layout is safe to operate.
Wiring a Model Train Layout
Setting up a model train layout can be an exciting and rewarding experience, but it can also present some challenges, especially when it comes to wiring. In this section, we’ll cover the basics of wiring a model train layout, including selecting a power source, wiring the track, and wiring the turnouts and accessories.
Selecting a Power Source
Before you begin wiring your model train layout, you’ll need to select a power source. The most common power sources for model trains are DC (direct current) and DCC (digital command control).
DC power is a simple and affordable option that is suitable for small layouts with one or two trains. With DC power, the voltage is constant, and the direction of the train is controlled by reversing the polarity of the voltage.

DCC power is a more advanced option that allows for more precise control over multiple trains and accessories. With DCC power, each train and accessory has its own address, and the voltage and direction are controlled digitally.
When selecting a power source, consider the size and complexity of your layout, as well as your budget and personal preferences.
Wiring the Track
Once you’ve selected a power source, it’s time to wire the track. The track is the most critical part of your layout, as it provides the foundation for your trains to run on.
To wire the track, you’ll need to connect the power source to the rails. For DC power, this is done by attaching wires to the rails and connecting them to the power source. For DCC power, the track is wired to a digital command station, which controls the voltage and direction of the trains.
It’s essential to ensure that the track is wired correctly to avoid issues such as shorts or derailments. You can use a multi-meter to test the continuity of the track and ensure that the voltage is consistent throughout.
Wiring the Turnouts and Accessories
In addition to wiring the track, you’ll also need to wire the turnouts and accessories, such as lights, signals, and sound effects. These are typically wired to the same power source as the track, but they require additional wiring and connections.
When wiring turnouts, it’s essential to ensure that the polarity of the power source is consistent throughout the layout. This can be achieved by using a power routing switch or by wiring the turnouts to the same power source as the track.
When wiring accessories, such as lights and sound effects, it’s essential to use the appropriate voltage and amperage to avoid damage to the components. You can use a power supply or transformer to regulate the voltage and amperage to the accessories.
Troubleshooting Model Train Wiring Issues
If you’re an avid model train enthusiast, you’re probably familiar with the frustration of finding your model train layout not working as it should. One of the most common problems is with the wiring. Fortunately, model train wiring issues is not as difficult as it may seem. In this section, we’ll cover the most common wiring problems and how to identify and fix them.

Identifying Common Wiring Problems
Before you start , it’s important to know what type of wiring problems you may encounter. Here are some of the most common wiring problems:
- Short circuits: Short circuits occur when two wires touch that shouldn’t. This can cause your model train to stop working altogether, or cause it to run erratically.
- Open circuits: These occur when a wire is disconnected, causing a break in the circuit. This can cause your model train to not work at all or work intermittently.
- Incorrect wiring: This can happen when you’re installing new wires, or if you’re not paying attention to the color coding of the wires. Incorrect wiring can cause your model train to not work at all, or work in unexpected ways.
Tools Required for Troubleshooting
Before you start your model train wiring, you’ll need some tools. Here are the essential tools you’ll need:
- Multimeter: A multimeter is a tool that can measure voltage, resistance, and continuity. It’s essential for wiring issues.
- Wire strippers: Wire strippers are used to remove the insulation from wires, allowing you to connect them to other wires or components.
- Wire cutters: Wire cutters are used to cut wires to the appropriate length.
- Soldering iron: A soldering iron is used to melt solder, which is used to connect wires and components.
Fixing Wiring Issues
Once you’ve identified the problem and have the necessary tools, it’s time to fix the issue. Here are some steps to follow:
- Locate the problem: Use your multimeter to identify where the problem is occurring. Is it a short circuit, an open circuit, or incorrect wiring?
- Remove the problem: If it’s a short circuit, remove the two wires that are touching. If it’s an open circuit, reconnect the disconnected wire. If it’s incorrect wiring, rewire it correctly.
- Test the circuit: Once you’ve fixed the problem, use your multimeter to test the circuit to make sure it’s working properly.
Advanced Model Train Wiring Techniques
If you’re looking to take your model train layout to the next level, you may want to consider adding some advanced wiring techniques. These techniques can enhance the overall experience of your model train layout and make it even more realistic.
Adding Lighting to Your Model Train Layout
One way to enhance the realism of your model train layout is to add lighting. This can create a more immersive experience, especially if you have a nighttime scene on your layout. There are a few different types of lighting that you can use:
 IRWIN VISE-GRIP Wire Stripping Tool / Wire Cutter, 8 inch, Cuts 10-22 AWG, ProTouch Grip (2078309)
- LED lights: These are energy-efficient and long-lasting, making them a popular choice for model train layouts. They come in a variety of colors and sizes, so you can choose the ones that best fit your layout.
- Incandescent lights: These are the traditional light bulbs that you’re probably familiar with. They’re not as energy-efficient as LED lights, but they can create a warm, cozy glow that’s perfect for certain scenes on your layout.
- Fiber optic lighting: This type of lighting uses tiny fibers to transmit light, which can create some unique effects on your layout.
To add lighting to your layout, you’ll need to do some wiring. You’ll need to connect the lights to a power source, which could be a battery or a transformer. You’ll also need to install switches so that you can turn the lights on and off as needed.
Installing Sound Effects
Another way to enhance the realism of your model train layout is to add sound effects. This can help create a more immersive experience and make your layout feel more alive. There are a few different types of sound effects that you can use:
- Train sounds: These can include the sound of a locomotive engine, the whistle of a steam train, or the chug of a diesel train. You can find sound files online or record your own sounds to use.
- Ambient sounds: These can include the sound of birds chirping, the rustle of leaves in the wind, or the hum of traffic in the distance. These sounds can help create a more realistic environment for your layout.
- Announcements: If you have a train station on your layout, you can add announcements for departing and arriving trains.
To add sound effects to your layout, you’ll need to install speakers and connect them to a sound system. You’ll also need to do some wiring to connect the sound system to a power source.
Automating Your Model Train Layout
If you want to take your model train layout to the next level, you may want to consider automating it. This can make it easier to control and can create some unique effects on your layout. There are a few different ways that you can automate your layout:
- Digital Command Control (DCC): This is a system that allows you to control multiple trains on your layout using a handheld controller. You can control the speed, direction, and other functions of each train individually.
- Sensors: You can install sensors on your layout that will trigger certain actions, such as turning on a light or activating a sound effect, when a train passes over them.
- Arduino: This is a microcontroller that you can program to control various functions on your layout. You can use it to automate things like turnouts or signals.
To automate your layout, you’ll need to do some wiring and programming. You’ll need to connect sensors and other devices to a controller or microcontroller, and you’ll need to program them to respond to certain triggers.
In conclusion, adding advanced wiring techniques to your model train layout can enhance the overall experience and create a more realistic environment. Whether you’re adding lighting, sound effects, or automating your layout, there are a variety of options available to you. With a little bit of wiring and some creativity, you can take your model train layout to the next level.